


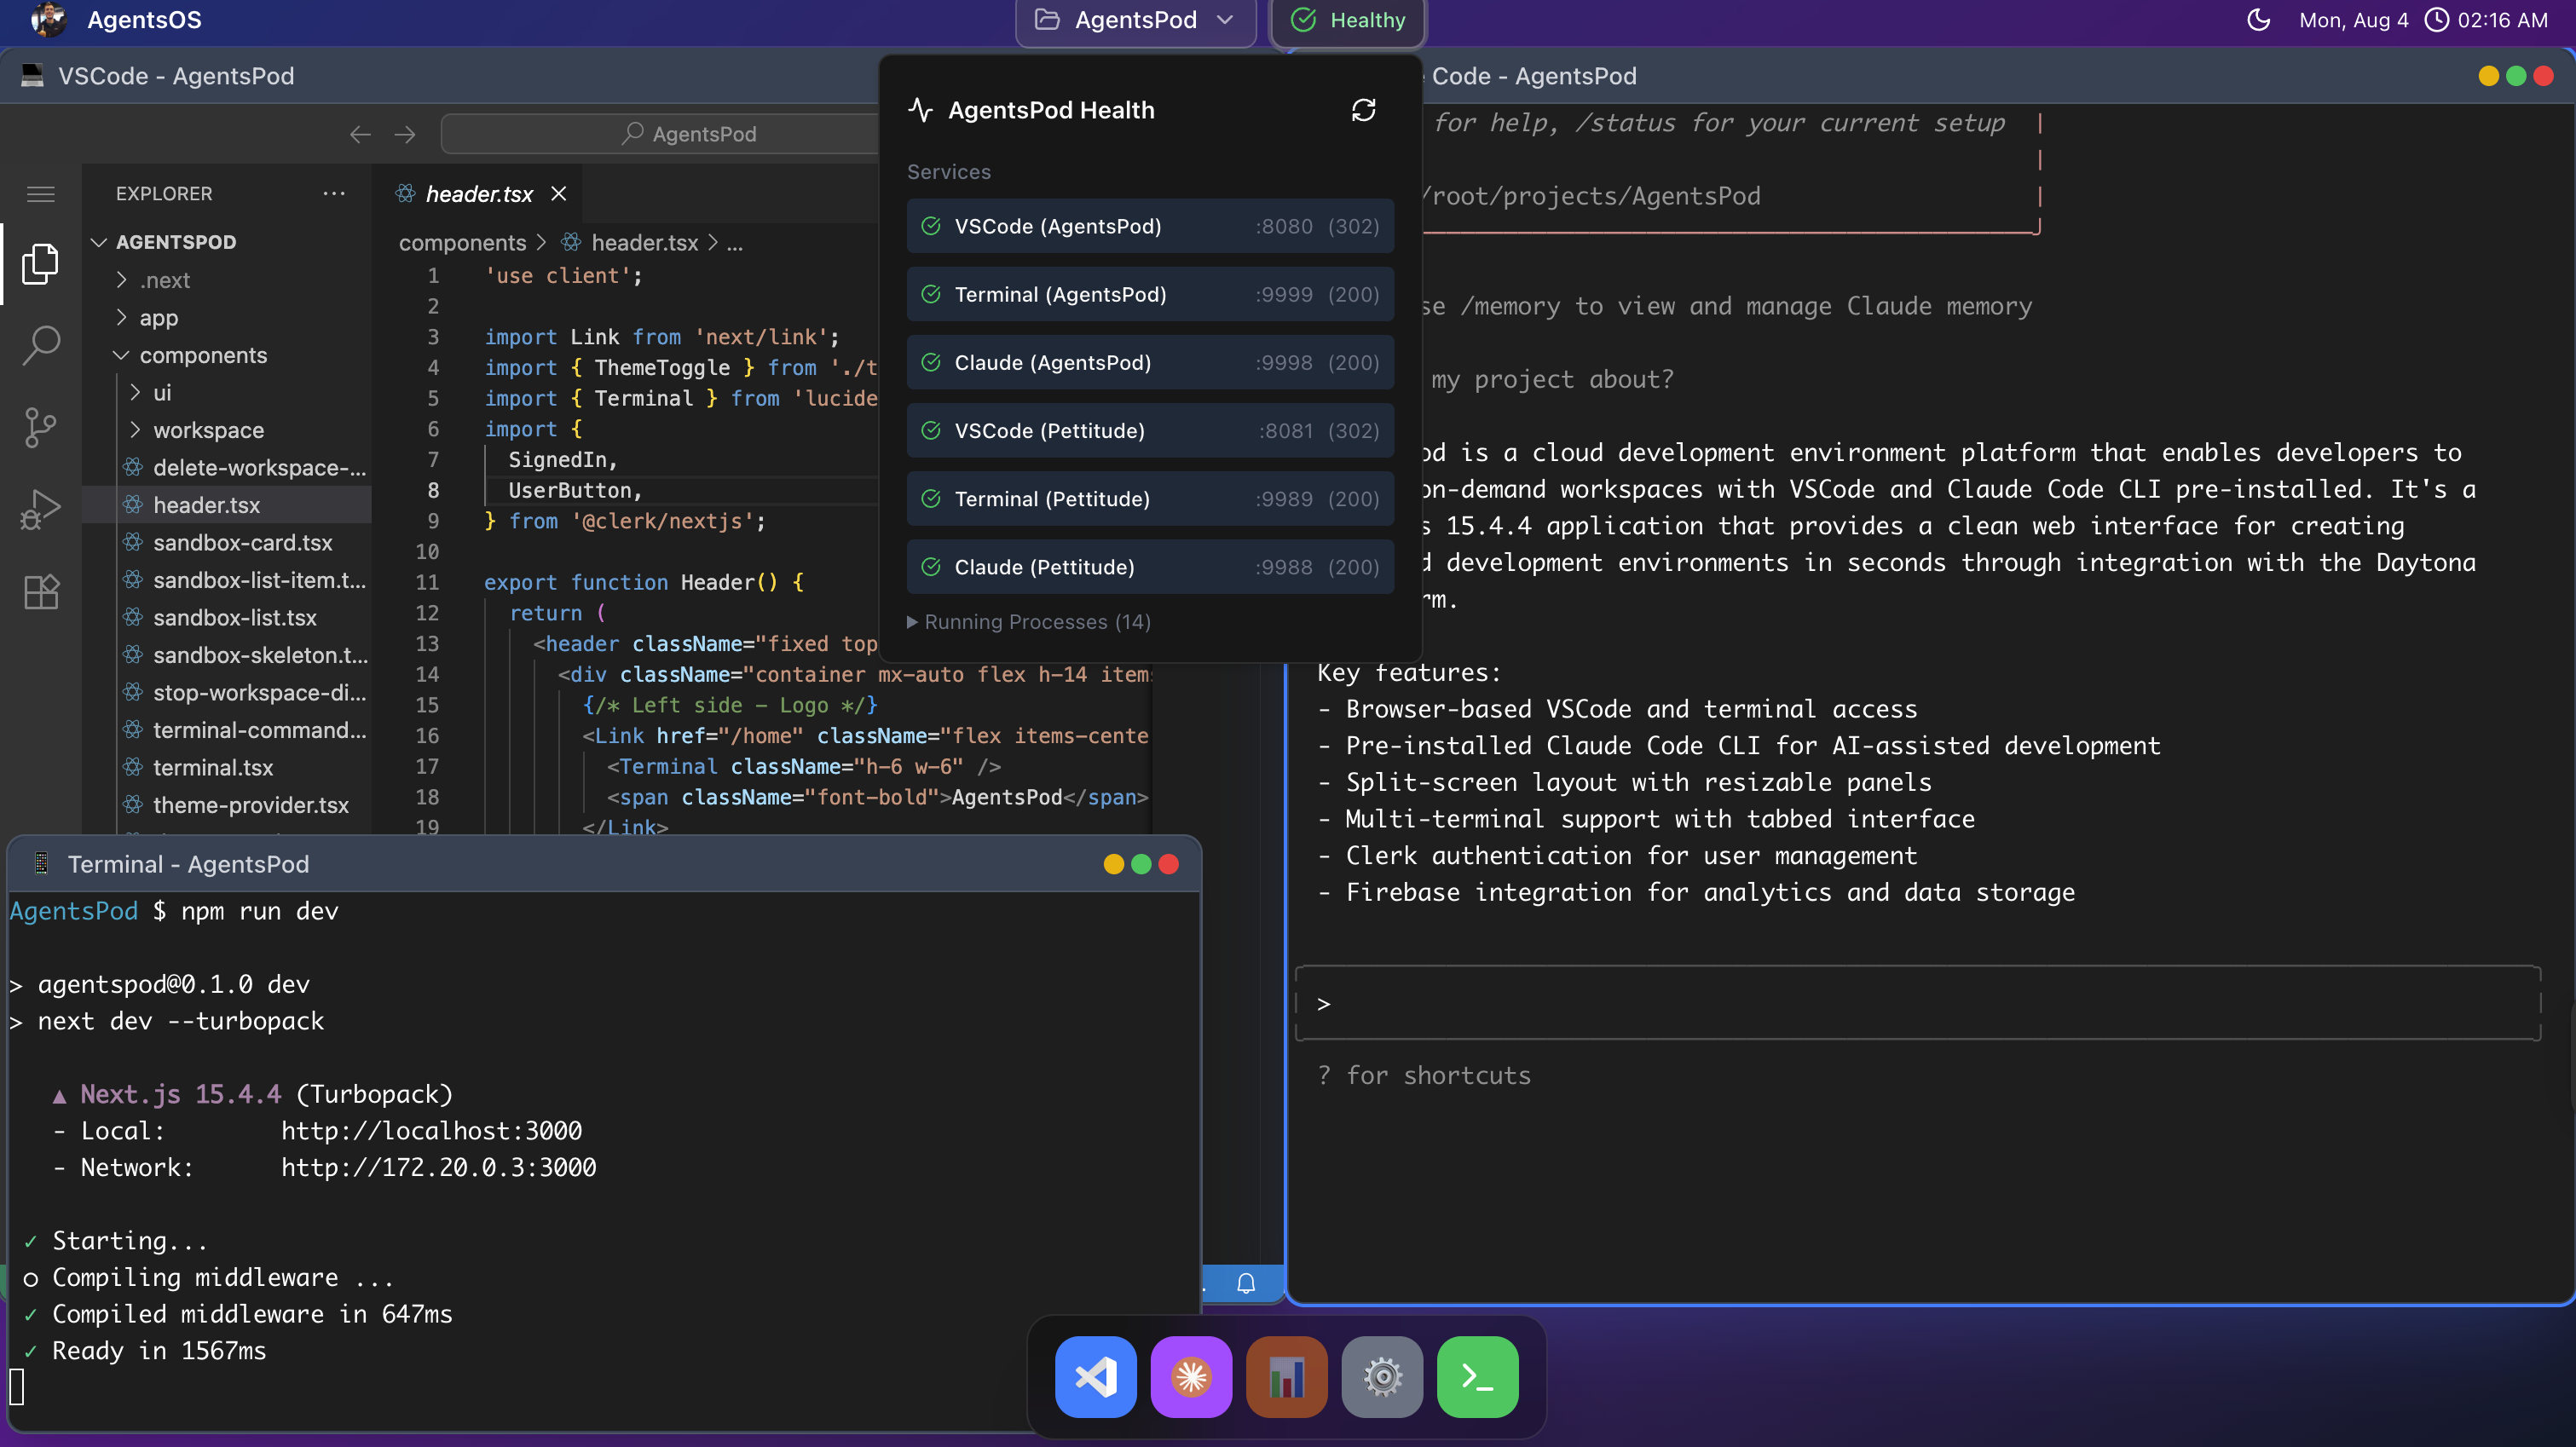
Split-screen layout with VSCode editor and multi-tab terminal featuring Claude Code CLI
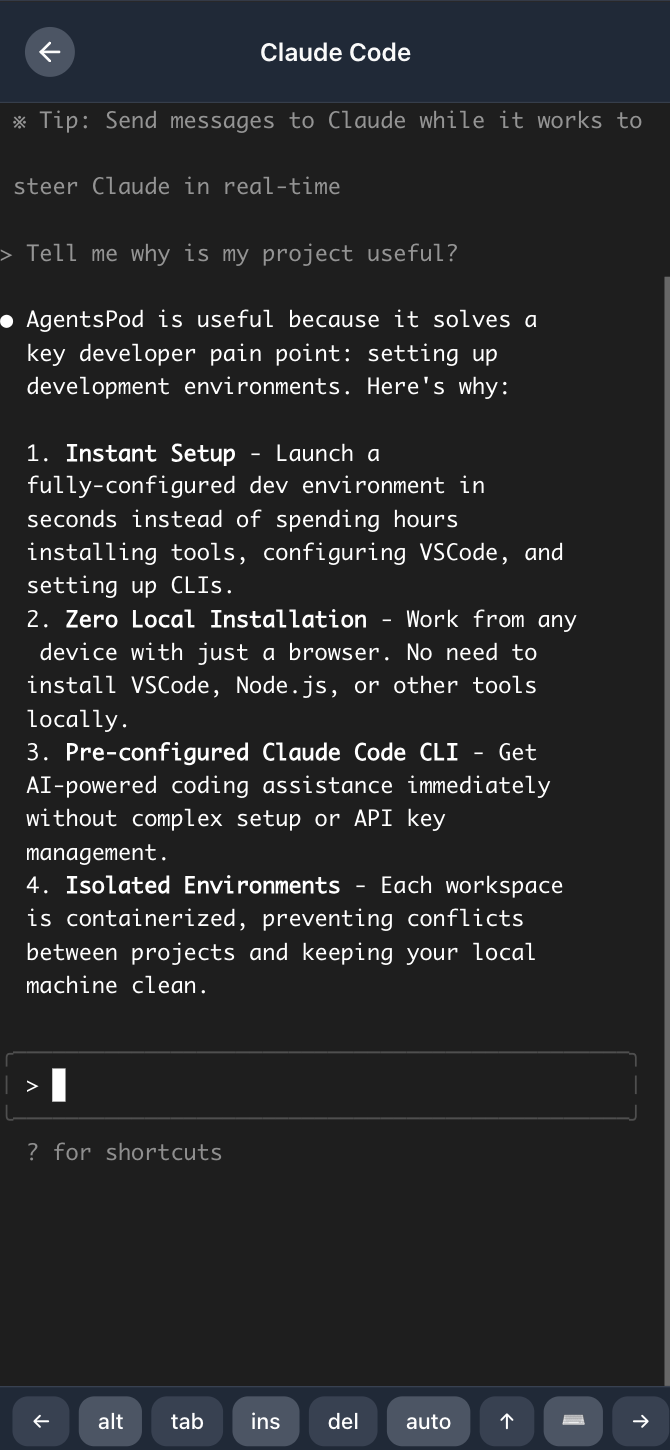
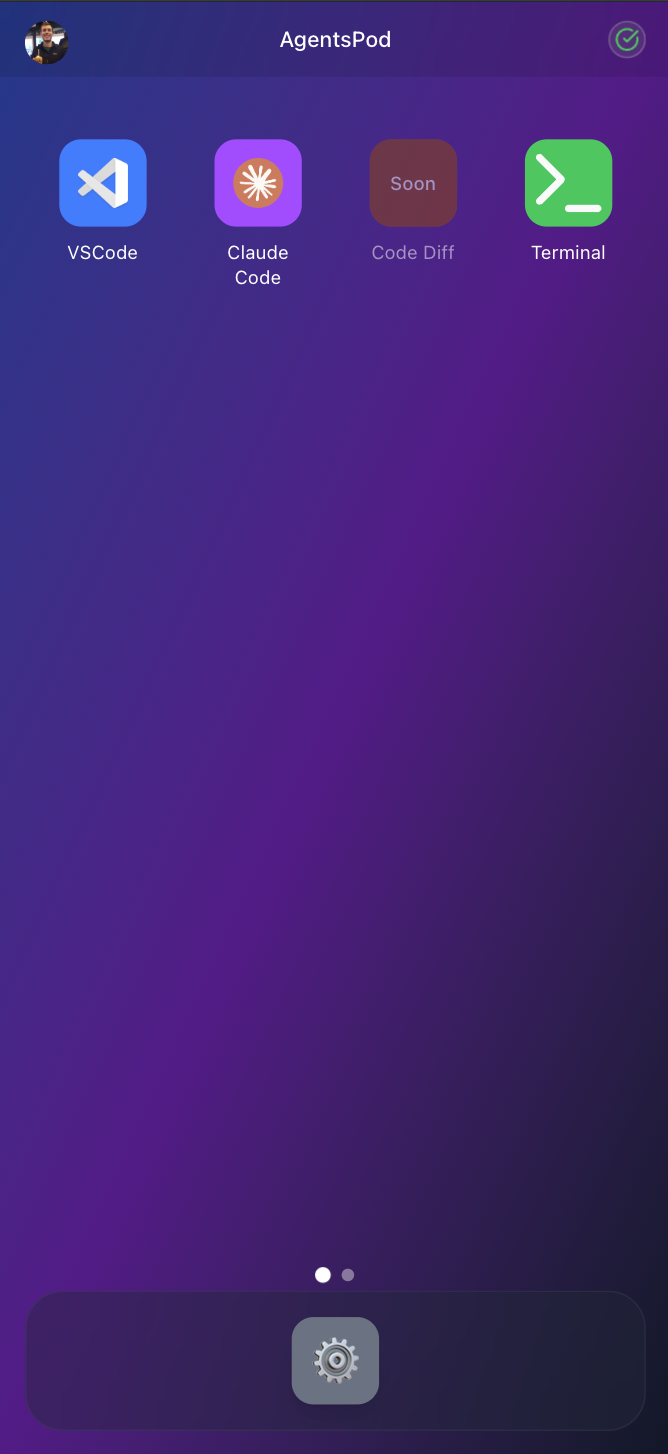
Full terminal and Claude Code experience on mobile devices
Launch on-demand development workspaces with VSCode and Claude Code CLI pre-installed. Code with AI assistance from anywhere, even your phone.
- 🖥️ VSCode in Browser - Full-featured VS Code editor with extensions and themes
- 🤖 Claude Code CLI - AI-powered development assistant built into your terminal
- 📱 Works Everywhere - Code from any device with a browser (laptop, tablet, phone)
- ⚡ Instant Setup - Launch your environment in under 30 seconds
- ☁️ Cloud Resources - Scalable compute power without local setup constraints
- 🔒 Isolated Environments - Each workspace is completely sandboxed
- 🎯 Terminal Splitting - Multiple terminals with tabbed interface
- 🌐 Open Source - Free to use and contribute to
- Daytona API Key (Get one here)
- Clerk Account (Create one here)
- Firebase Project (Create one here)
- Node.js 20+ and npm
-
Clone the repository
git clone https://github.com/papay0/agentspod.git cd agentspod -
Install dependencies
npm install
-
Set up environment
cp .env.example .env.local
# Add your Clerk keys, Firebase config, and encryption secret to .env.local
# Note: Users now provide their own Daytona API keys via the onboarding UI
-
Start the development server
npm run dev
-
Open your browser
http://localhost:3000
- Click "Launch Workspace" - Start your development environment with one click
- Wait ~30 seconds - We install VSCode, Claude CLI, and configure everything
- Start Coding - Your complete AI-powered development environment is ready
- Frontend: Next.js 15, React 19, TypeScript
- UI: shadcn/ui, Tailwind CSS
- Authentication: Clerk for user management and auth
- Backend: Daytona SDK for workspace orchestration
- Database: Firebase Firestore (for waitlist and analytics)
- Analytics: Firebase Analytics
- Editor: code-server (VSCode in browser)
- Terminal: ttyd for web-based terminal access
- AI: Claude Code CLI integration
- Navigate to the home page
- Click "Launch Workspace"
- Wait for the workspace to be created and configured
- Access your development environment with VSCode and terminal
- Start/Stop: Control workspace states from the dashboard
- Multiple Terminals: Create and manage multiple terminal sessions
- AI Assistance: Use Claude Code CLI directly in the terminal
- File Management: Full file system access through VSCode
npm run dev      # Start development server
npm run build    # Build for production
npm start        # Start production server
npm run lint # Run ESLint# No longer required - users provide their own API keys
# DAYTONA_API_KEY=your_daytona_api_key_here
# Clerk Authentication
NEXT_PUBLIC_CLERK_PUBLISHABLE_KEY=your_clerk_publishable_key
CLERK_SECRET_KEY=your_clerk_secret_key
# Firebase Configuration
NEXT_PUBLIC_FIREBASE_API_KEY=your_firebase_api_key
NEXT_PUBLIC_FIREBASE_AUTH_DOMAIN=your_project.firebaseapp.com
NEXT_PUBLIC_FIREBASE_PROJECT_ID=your_project_id
NEXT_PUBLIC_FIREBASE_STORAGE_BUCKET=your_project.firebasestorage.app
NEXT_PUBLIC_FIREBASE_MESSAGING_SENDER_ID=your_messaging_sender_id
NEXT_PUBLIC_FIREBASE_APP_ID=your_app_id
NEXT_PUBLIC_FIREBASE_MEASUREMENT_ID=your_measurement_idAgentsOS uses Clerk for user authentication:
- Create a Clerk application at Clerk Dashboard
- Go to API Keys in your Clerk dashboard
- Copy your Publishable Key and Secret Key to
.env.local - The app will automatically handle sign-in/sign-up flows
- Landing page (
/) is public, all/home/*routes require authentication
AgentsOS uses Firebase for analytics and waitlist functionality:
- Create a Firebase project at Firebase Console
- Enable Analytics and Firestore
- Go to Project Settings → General → Your apps
- Copy your Firebase config values to
.env.local - Firebase will automatically track workspace usage and user engagement
We welcome contributions! Please see our Contributing Guide for details.
- Fork the repository
- Create your feature branch (
git checkout -b feature/amazing-feature) - Commit your changes (
git commit -m 'Add some amazing feature') - Push to the branch (
git push origin feature/amazing-feature) - Open a Pull Request
This project is licensed under the MIT License - see the LICENSE file for details.
- Daytona for providing the infrastructure platform
- Claude Code for the AI development assistant
- VS Code for the amazing editor
- All contributors who help make this project better
Made with ❤️ by the open source community